
Customizing Super Records
Customizing a Super Record
Admins are able to customize a Super Record by clicking on the settings wheel at the top of the Super Record.
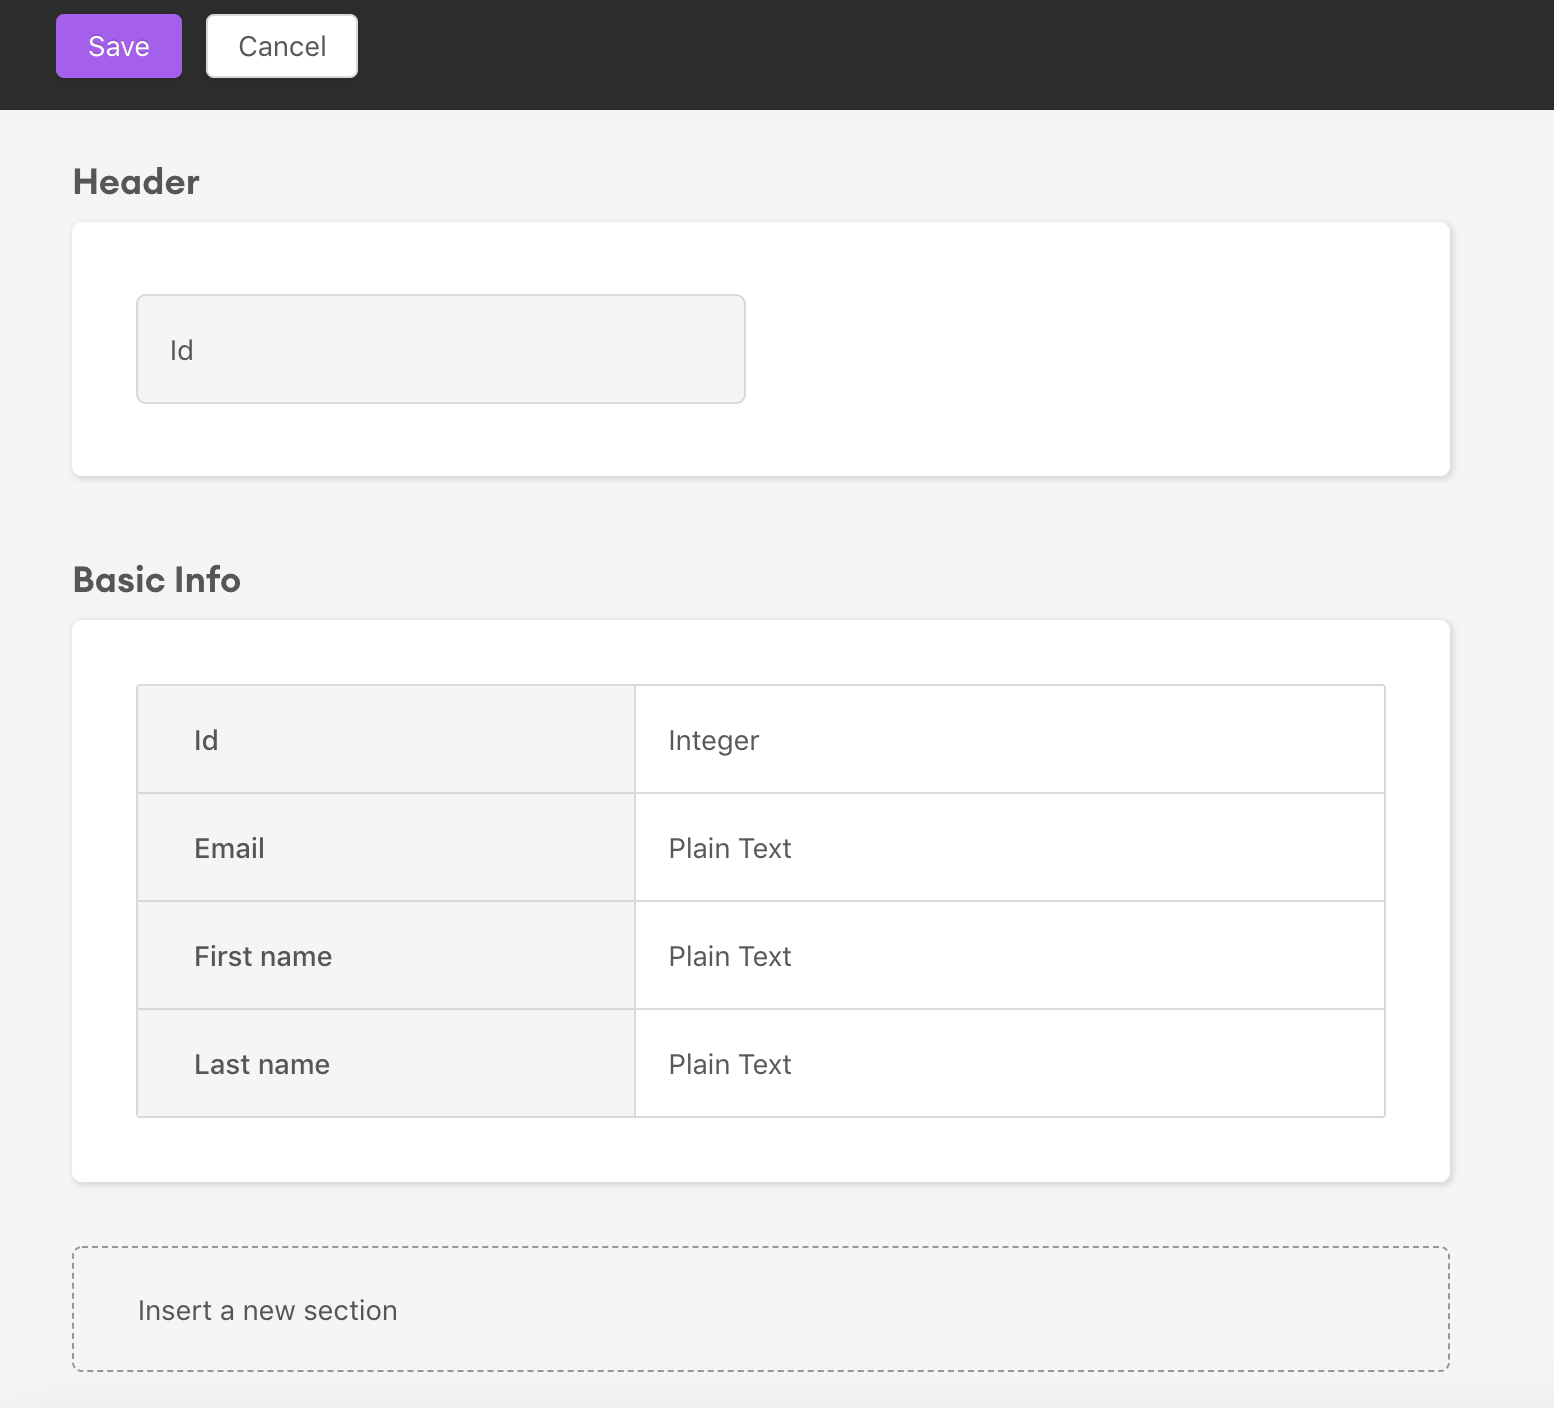
Header: You can swap out which data field is featured as the header for the Super Record. By default, this is the record's primary key, but you may want to showcase a different field (like a customer name instead of a customer ID number). Hover over the current data field and click the trash icon to remove it, then select a new attribute from the list and hit "Save".
Basic Info: You can remove, reinsert and rearrange the fields shown in the Super Record. Hover over the desired field and click the trash can icon to remove a field. Hover over the new desired position and click the "+" icon to add a field back.
Embedding Related Records
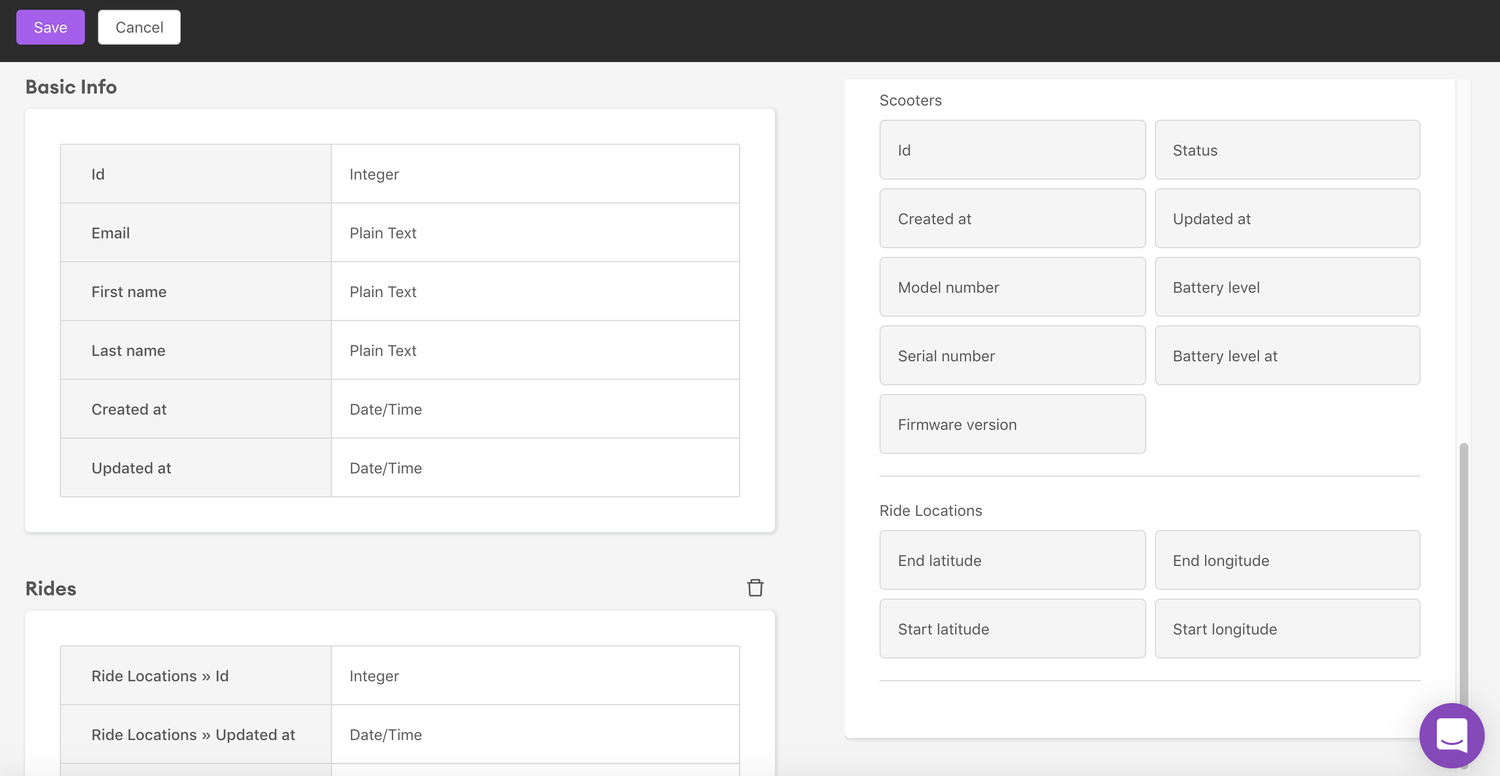
Sometimes you may want to pull in related data from a different table to include in this Super Record. For example, if you’re looking at a “Rider” record, you may want to pull in relevant data that exists in the “Rides” table, so users can see all the information they need without traversing between tables.
To get started, click “Insert a new section” at the bottom. You’ll see a list of related tables/resources on the right. Click on the one that contains the fields you want to include. If you like, you can also define a new relationship here, which will be covered next.
You will see a new section added to the bottom, and a list of available fields populated on the right. Like with customization, you can add, remove and rearrange fields as you wish in the new section. You can also insert another new section if you want to embed more related data.
If your data has relationships that extend beyond direct foreign key relationships (e.g. a related record’s related record), you will also see those fields appear as options on the right. For example, if you have a Customers record that has related Orders, and those Orders have related Products, you can embed data fields from those related Products directly onto the Customer record.
Once you’re done, hit “Save” at the top to apply your settings. You can go back to view a record to see how the new section looks.
Creating a new relationship
If relationships are not automatically established because no foreign keys were detected, you can always define your own. To do so, go to customize a record view and then insert a new section. Click on the “+ Relationship” button that appears on the right.
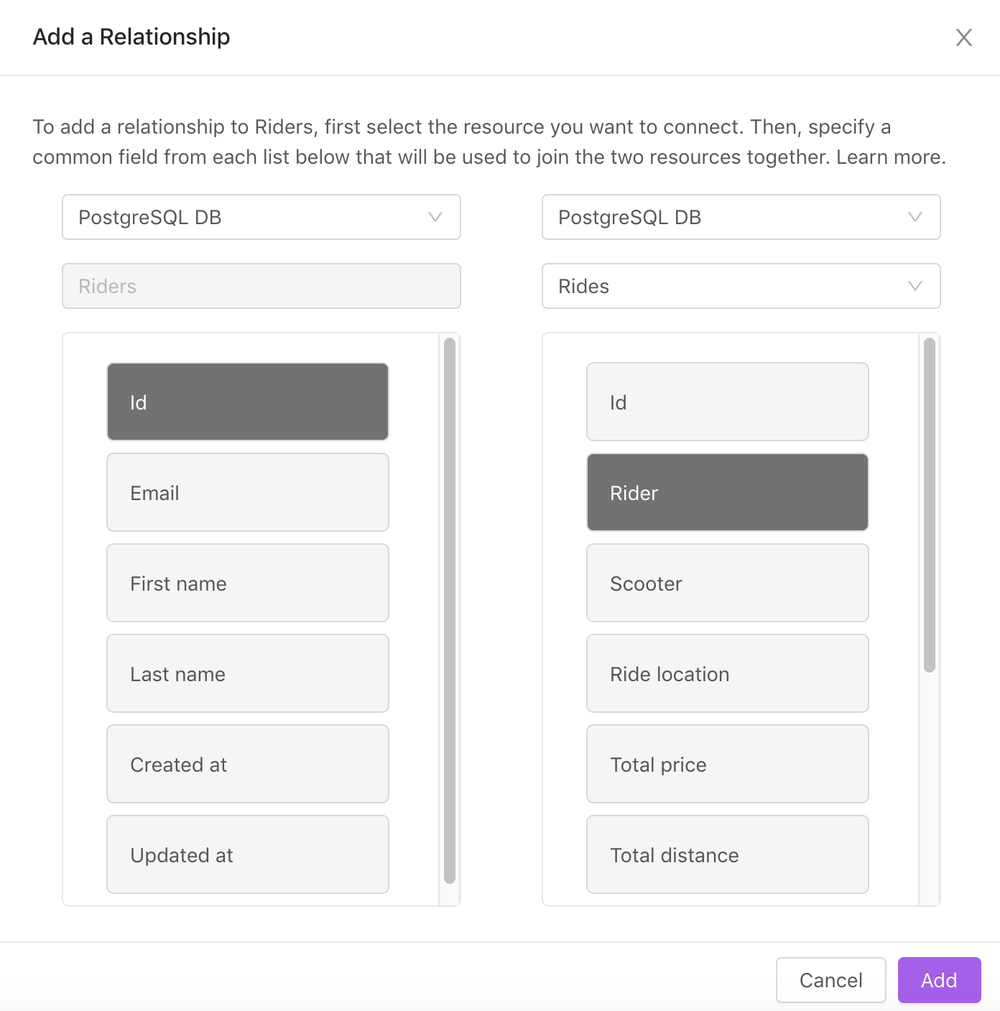
You’ll see a screen where you can match up two fields to establish a relationship. Choose the field that you want to match from the list on the left (Data source and resource should be pre-filled). On the right, select the data source, and then the resource that you are trying to create a relationship to. Finally, select the matching field in the list of fields to the right. Hit “Add” to create the relationship.