
Snowflake
Snowflake via Basic Authentication
- Display Name: Give your data source a name for use within Internal.
- Account: Name of account provided by snowflake (e.g. xy12345.us-central1.gcp)
- User: The user associated with the Snowflake account you’re using for Internal.
- Password: The password associated with the Snowflake account you’re using for Internal.
- Database: The name of the database you’re connecting (this must match the actual name of your Snowflake database).
- Warehouse: The name of the warehouse you’re connecting (this must match the actual name of your Snowflake database).
- Role: The role associated with these credentials.
Note:
To connect with Internal, your data source must be publicly accessible, with SSL encryption enabled, and configured to accept connections from Internal’s IP addresses.
34.66.153.118/32
35.225.125.80/32
What happens when you connect
When you connect Snowflake to Internal, we'll generate the following for you automatically:
- A list and get function for each table in the database (regardless of whether the connecting user account has these privileges). Think of these functions as prebuilt SQL queries, so you don't have to write queries for everything.
Custom Functions
In some cases, you may want to create a view that combines data from various tables or updates, inserts, or deletes records in your Snowflake database. To accomplish this, create a custom SQL Function.
Filtering and Sorting
Internal enables filtering and sorting on all columns (except ARRAY, GEOGRAPHY, OBJECT, and VARIANT columns). Every type is orderable.
Things to know about the Snowflake Integration
- NUMERIC values which are larger than what a 64bit integer can hold will show up as strings
- Internal does not support writing values to ARRAY, OBJECT, or VARIANT columns.
- Internal does not support filterng on ARRAY, GEOGRAPHY, OBJECT, and VARIANT columns.
Using Snowflake with Key/Pair Authentication
Note: Internal currently only supports use of K/P Auth with encrypted and password-protected private keys.
Here's a link to setting up authorization with Key/Pair for Snowflake.
We recommend that you follow the setup guide with one caveat: Mac users need to use a different key-generation method that passes an additional flag. This will ensure that PKCS#5 v2.0 is used. It looks like this:
openssl genrsa 2048 | openssl pkcs8 -topk8 -v2 aes256 -inform PEM -out rsa_key.p8
After you have generated a private, password-protected key, and associated your Snowflake instance with your keys, you're ready to add your credentials and keys to your Internal instance.
Set Up a New Data Source
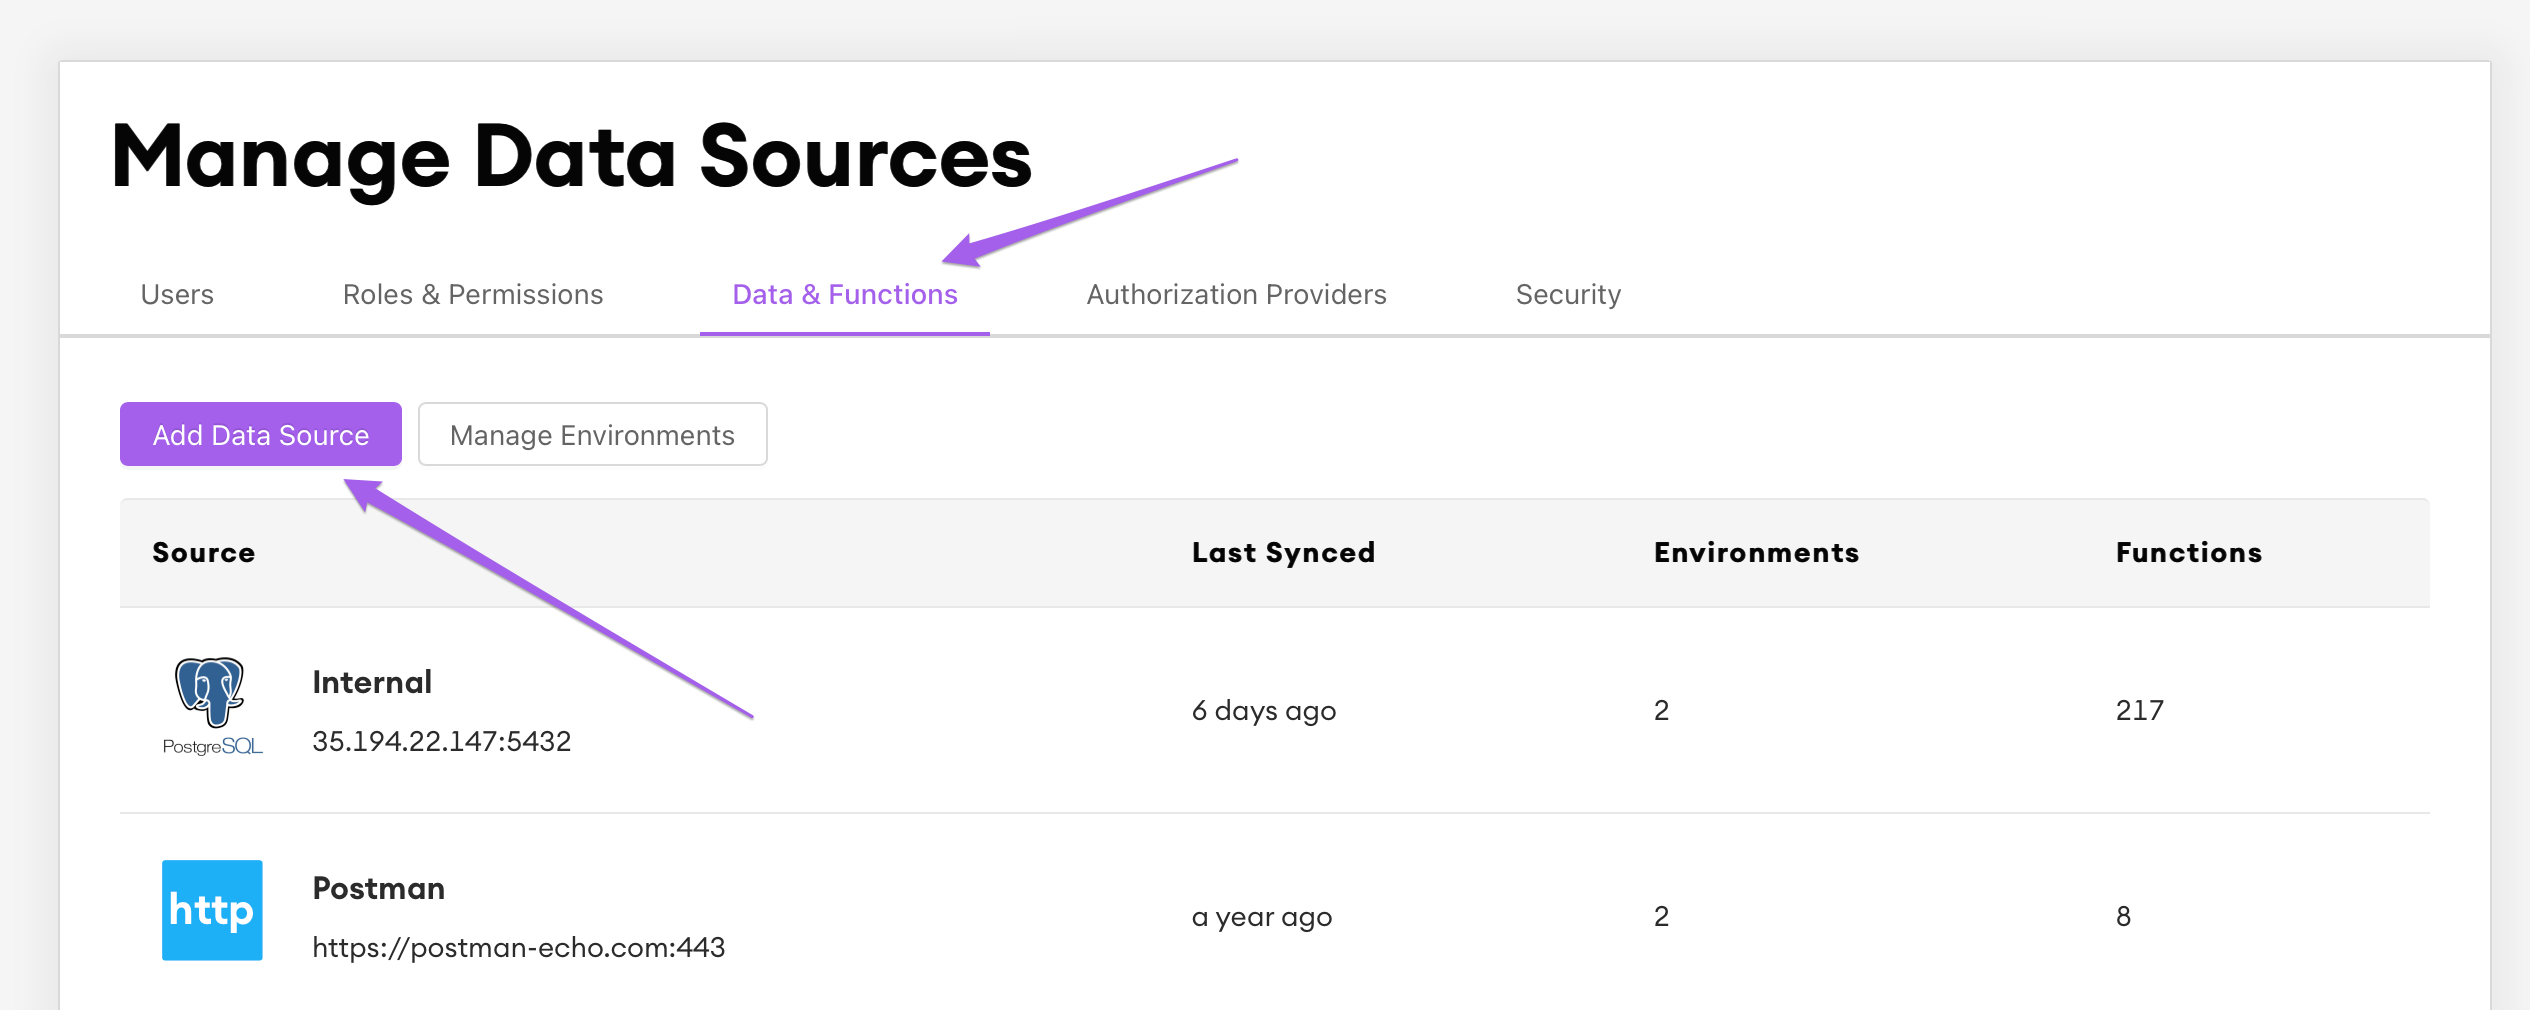
Navigate to "Company Settings" (you'll need to be an Admin for your Internal Instance) and select "Data & Functions" from the tabbed menu.
Click "Add Data Source"
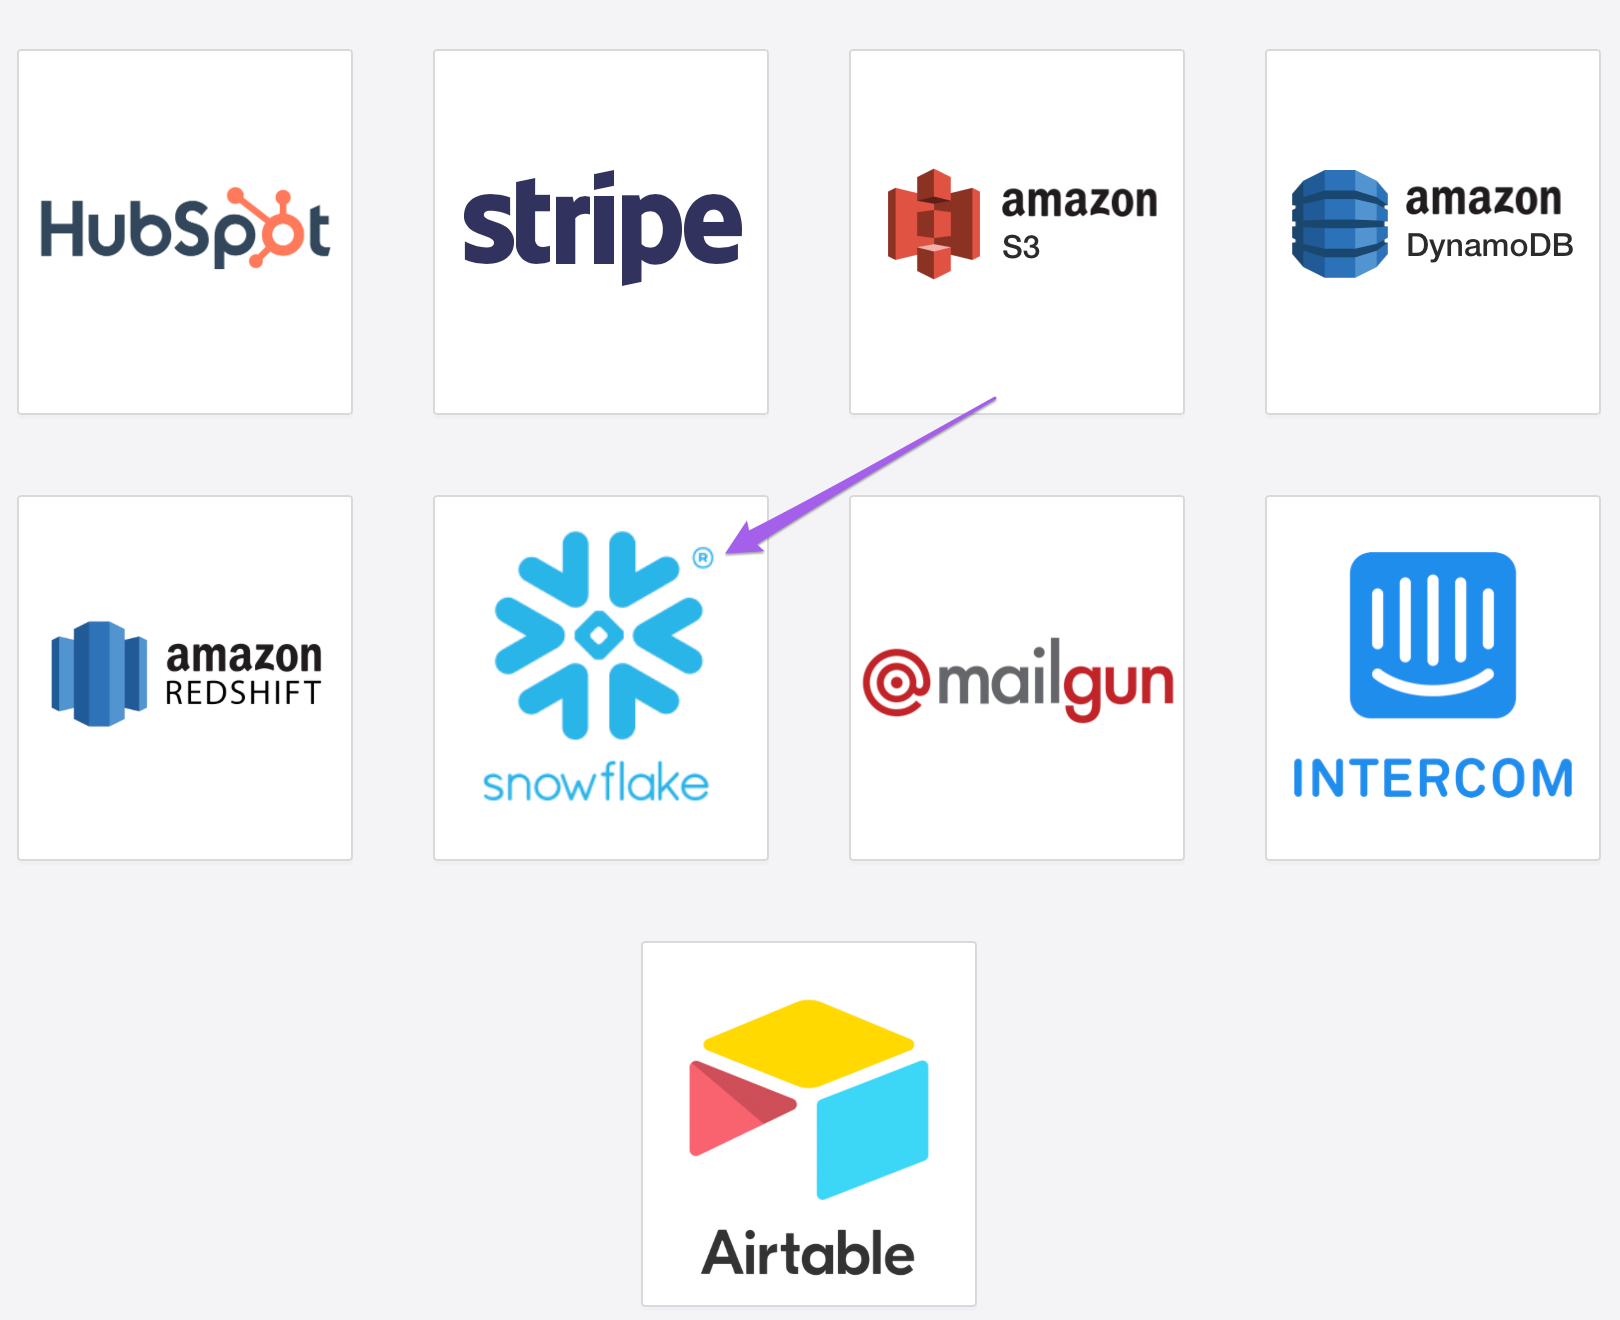
On the resultant screen, select "Snowflake"
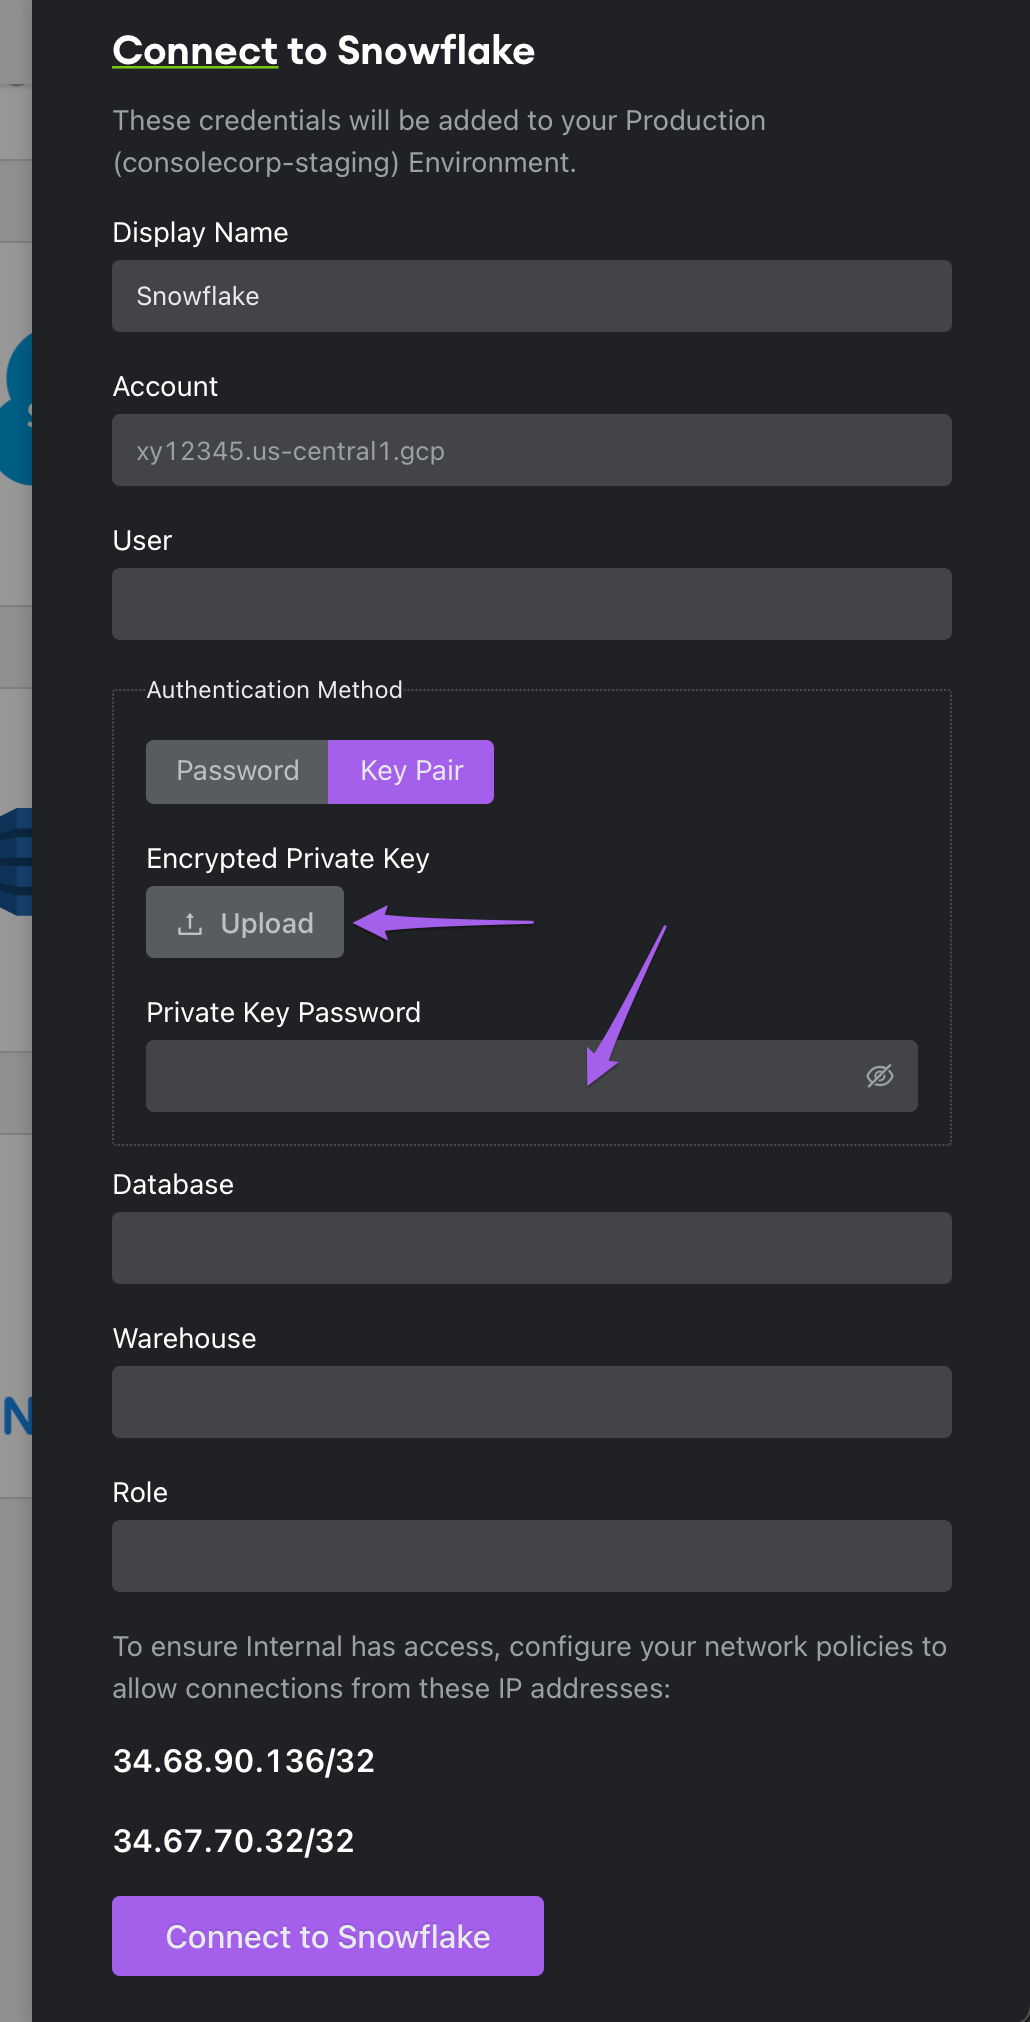
Add Authentication and Environment Details
From there, fill out the Snowflake environmental data, and click "Key Pair" in the "Authentication Method" section of the form, upload the encrypted private key file, and input the password for the encrypted private key.
Once you've submitted the form, you'll see your Snowflake DB generate a slew of functions through the magic of Internal, and your Snowflake instance will be protected by Key/Pair authentication.
Updated about 1 year ago